Once I started collecting fossils, it quickly became apparent that I needed a system for fossil collections management. This includes storing and cataloging them. Fossils are rocks, rocks are heavy, and they take up a considerable amount of room. Over the years, I’ve found helpful products to solve these problems.
Identification took a couple of years to solve. At first, I devised an overly complex identification system that combined the locality with an integer. While helpful to quickly see where a fossil came from, the extra locality layer of information made things cumbersome. Simpler is better. I soon prefixed my identification numbers with my initials and set out using a system of four digits. For example, CG-0536 is an Amphiscapha. I planned for a maximum of 9,999 specimens utilizing this system, and I may one day regret not adding a 5th leading zero.
Enter the Museum
Museum fossil collections management is fascinating to me. The curator adjusts the entire donation, accession, cataloging, and storing system to fit the institution’s needs. I’ve had the privilege of visiting the Carnegie Museum’s fossil invertebrate collections to see the system in action. As a major institution, the storage is impressive; rows of large metal cabinets hold thousands of wooden specimen trays.
This museum collection is excellent to emulate, but I will always have different funds than the Carnegie Museum. Yet, the system can scale to fit different needs and budgets. I can reproduce the four significant steps of a museum collection.
Step 1: Donations and Acquiring Fossils
I spend a lot of time collecting fossils to cover a need for donations, so I have a steady stream of specimens. I’ve received other fossils from collaborators over the years, but I still collect more fossils than I accession into the catalog.
It’s essential to record the location of each fossil geographically and stratigraphically. Each layer can represent different paleoenvironments, and finding two fossils of the same species in different layers can help tell the geologic story of a location.
As fossils are collected, temporary storage becomes an issue. I utilize trays and dishpans for temporary storage. While you can find these items on Amazon, these are cases where visiting a physical store can help save some cash. I find the Sterilite 12 Qt Dishpan to be one of my favorites. You can fill one with several macrofossils, and they are portable.
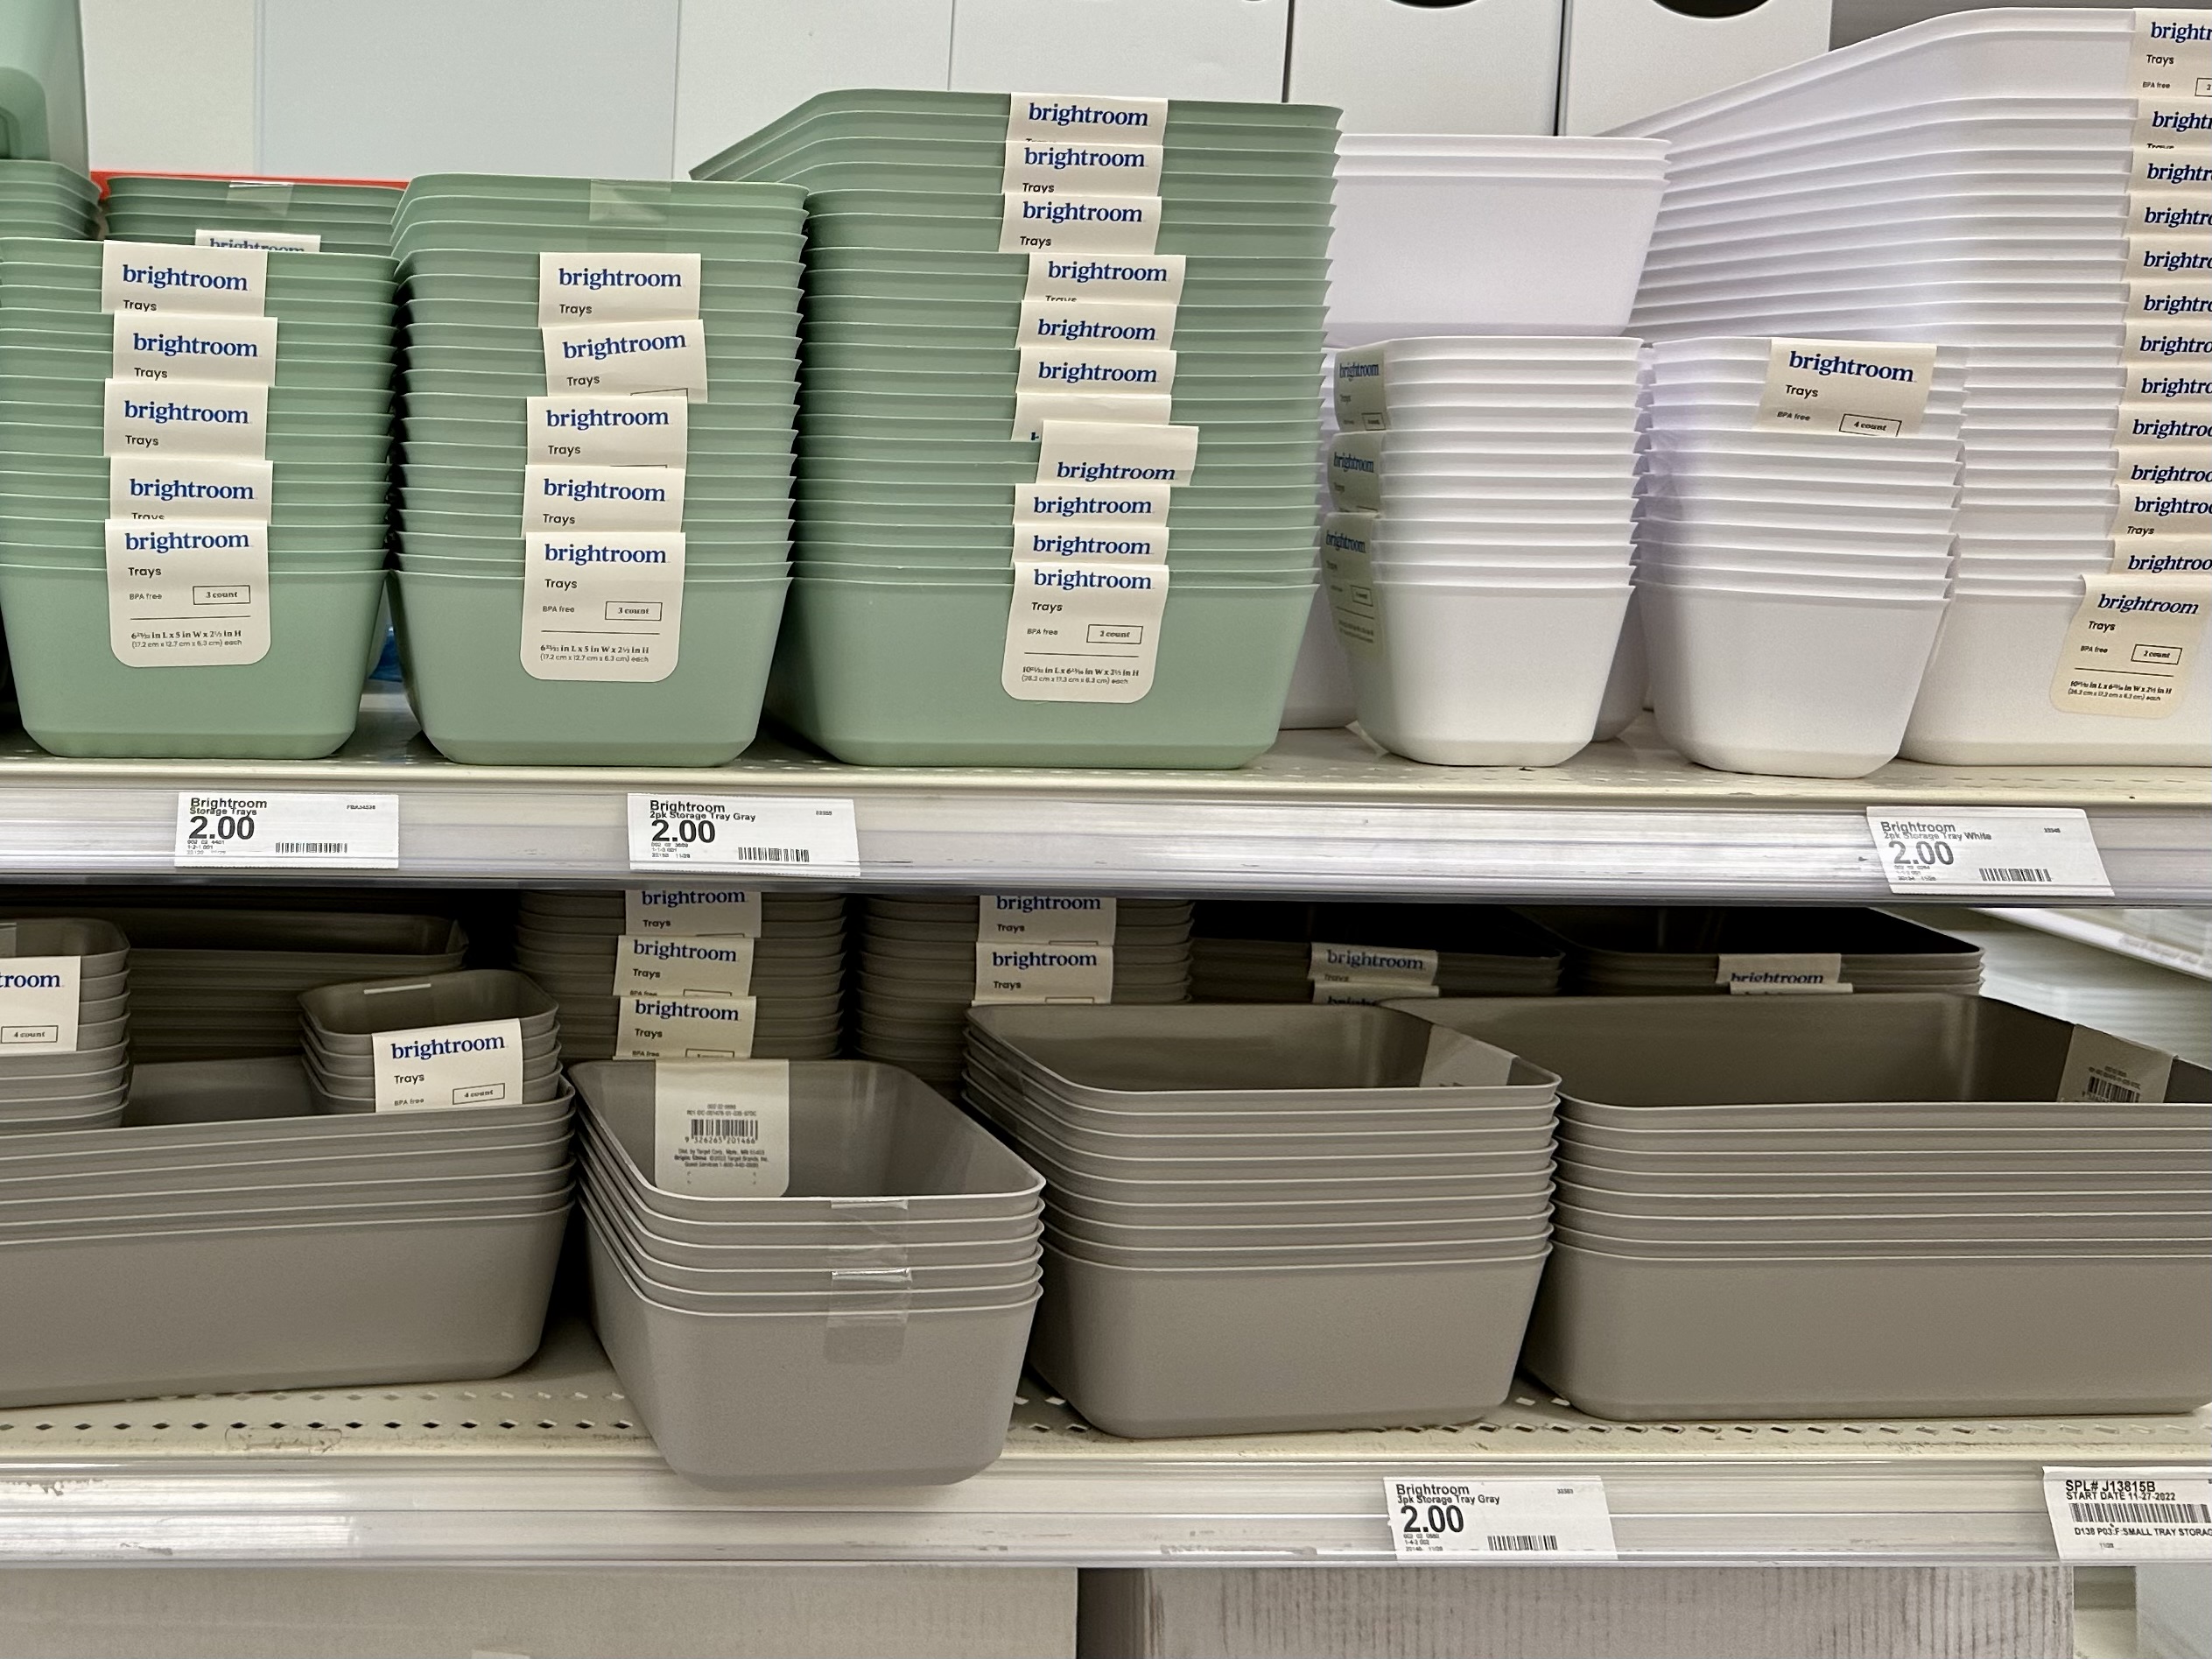
I also use several sizes of brightroom storage trays from Target for further fossil sorting. Fieldwork produces two or more dishpan bins filled with new finds. I will often sort anything of higher interest into brightroom trays. Incomplete fossils will land in a different tray. If a macro fossil is in fragments, the best way to preserve it is to place them together in a tiny bin. After sorting, you place any leftover matrix outside, usually with rocks from the same locality.
Step 2: Fossil Specimen Accession
Selecting which fossils to enter into the catalog is relatively easy. Less than 1,000 specimens appear in the catalog at the time of writing, so anything of good quality is a candidate for catalog accession. It is easier to enter several specimens of the same type simultaneously.
First, I group candidates into a tray and place them in an accession queue. Any specimens that require cleaning or gluing should be put into a queue for each. Each process can be time-consuming, so it is best to do batches.
Cleaning Fossils
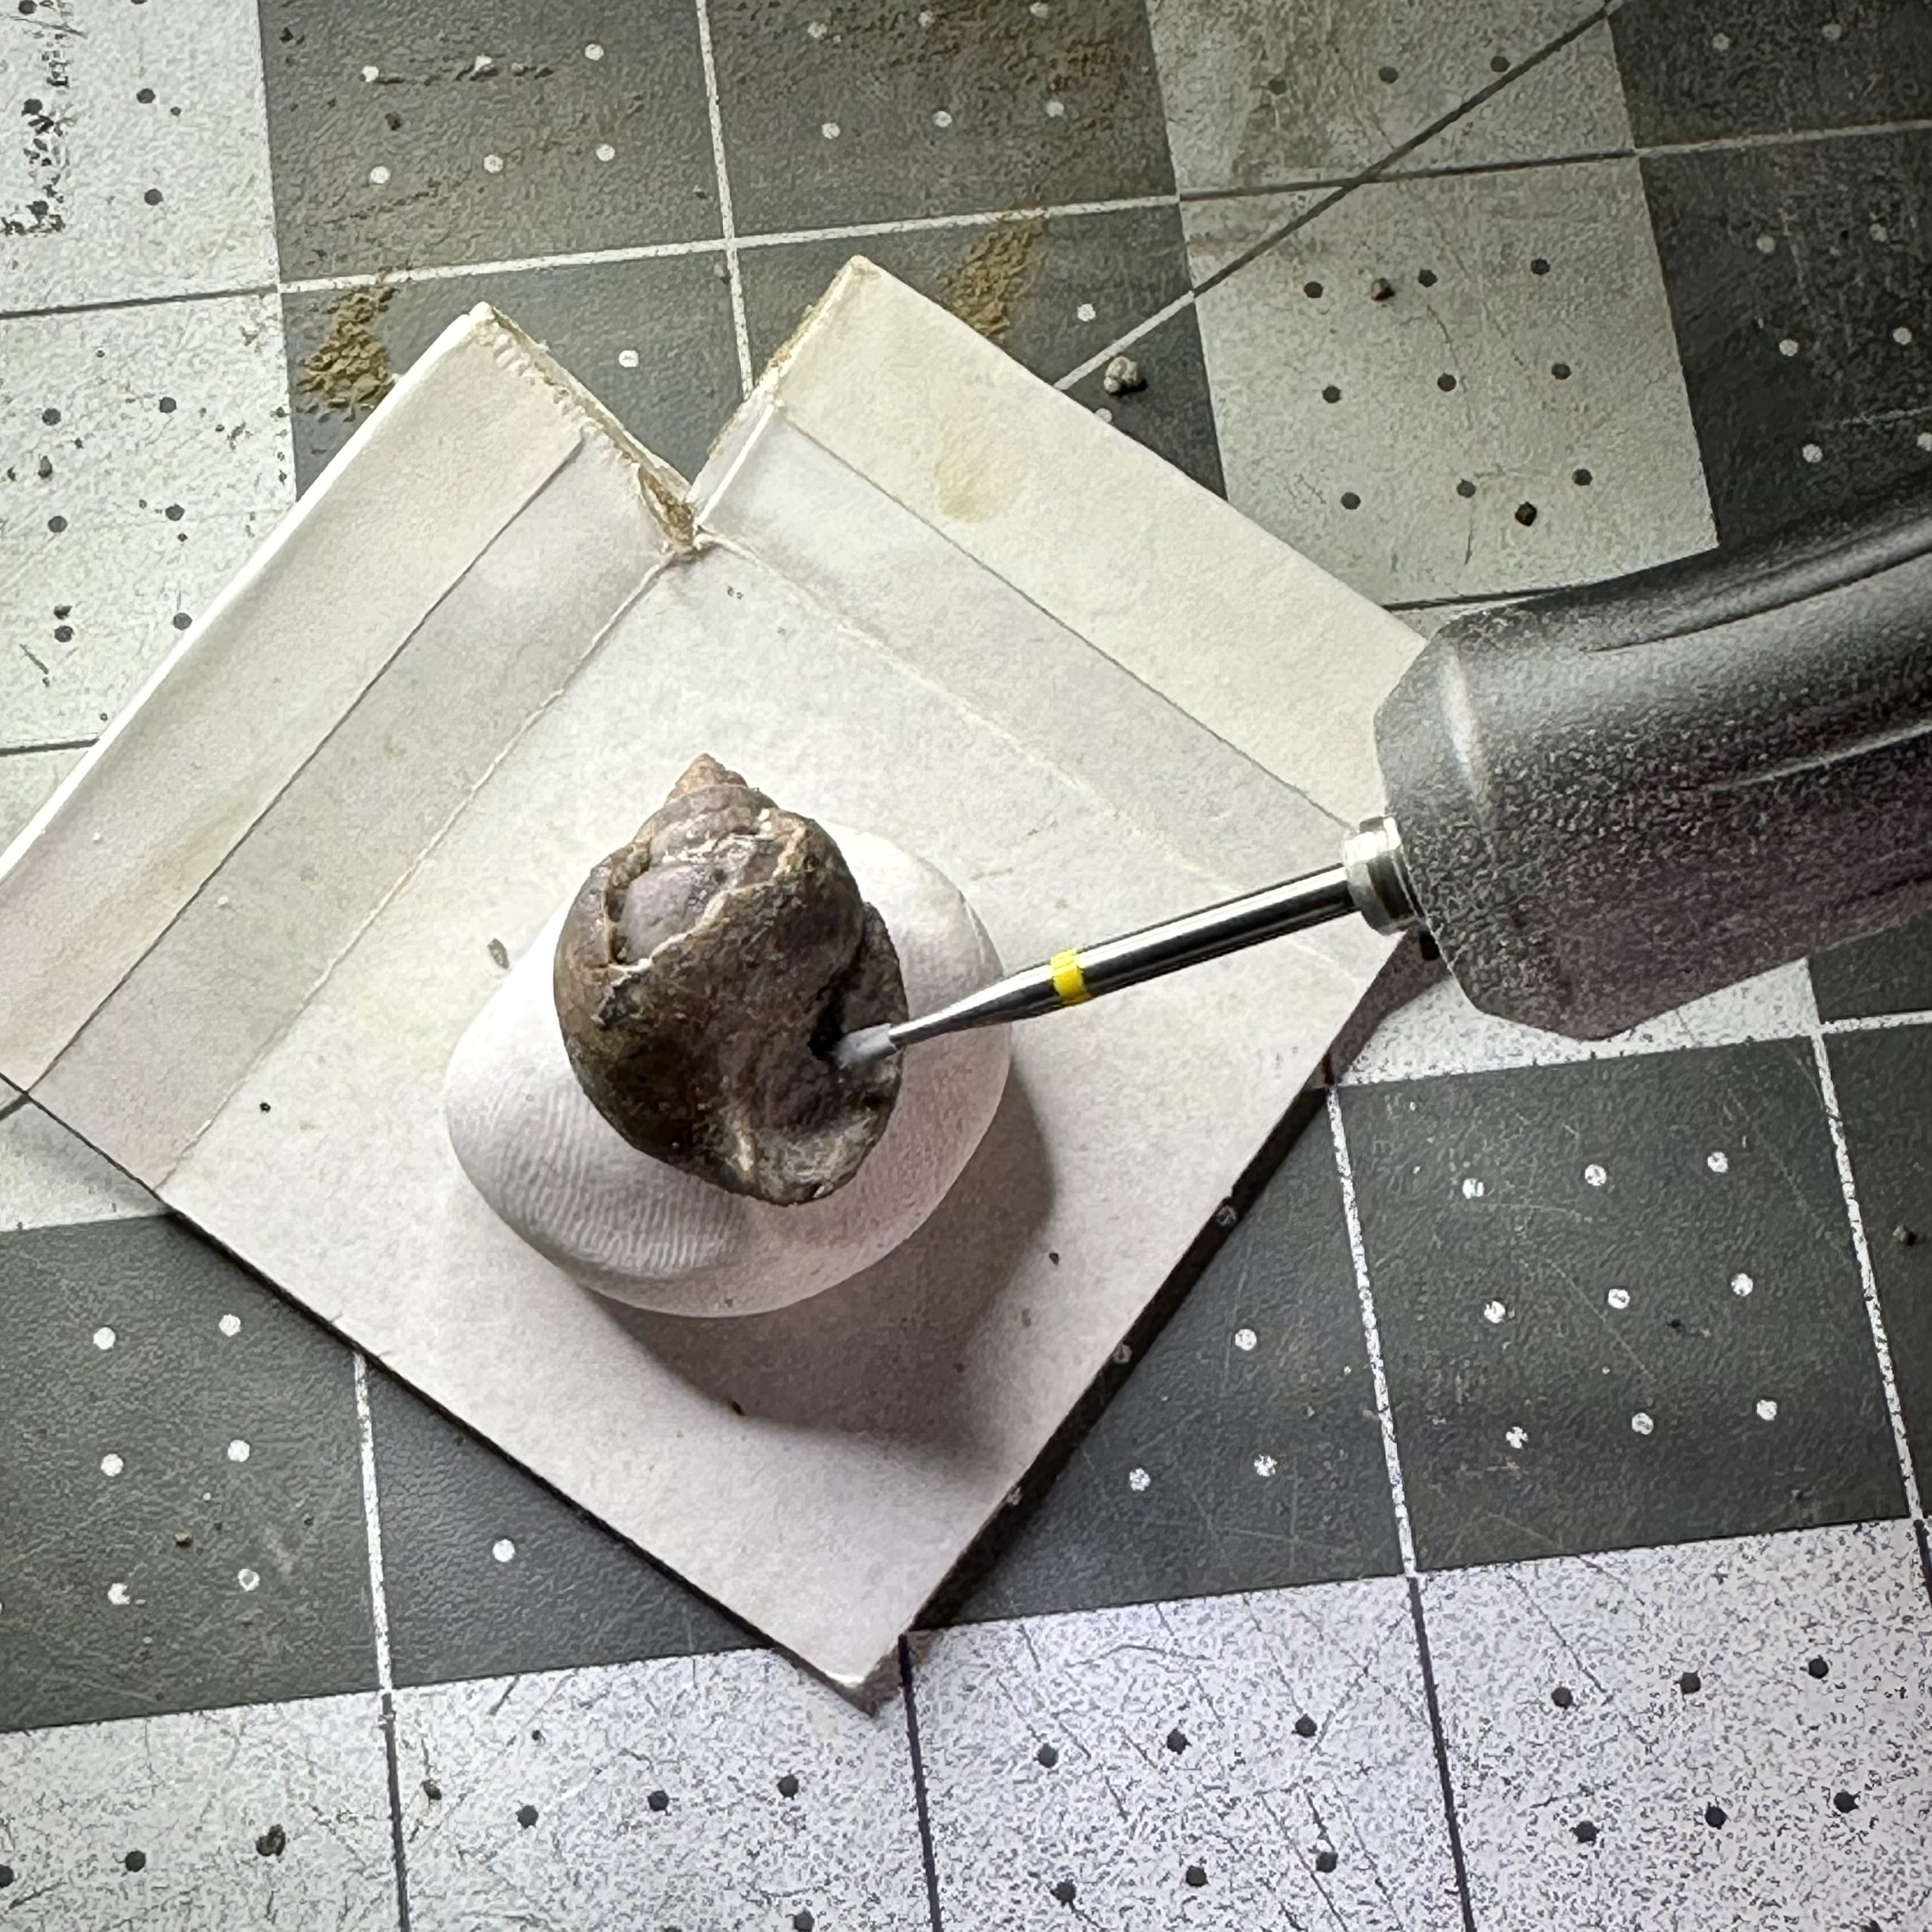
Fossil cleaning takes patience and requires specialized tooling. The tooling is scalable; one can purchase better microscopes or powered tools to work on fossils. The trays can come in handy here; you can use them to fill with clean water to assist the cleaning process. I wash and clean specimens using scratch brushes. You dip each fossil in water and use the brush to abraid the surface to remove the matrix. An inspection microscope helps. You can clean the fossil while looking through the scope, similar to a dentist doing highly detailed work.

Repairing Fossils
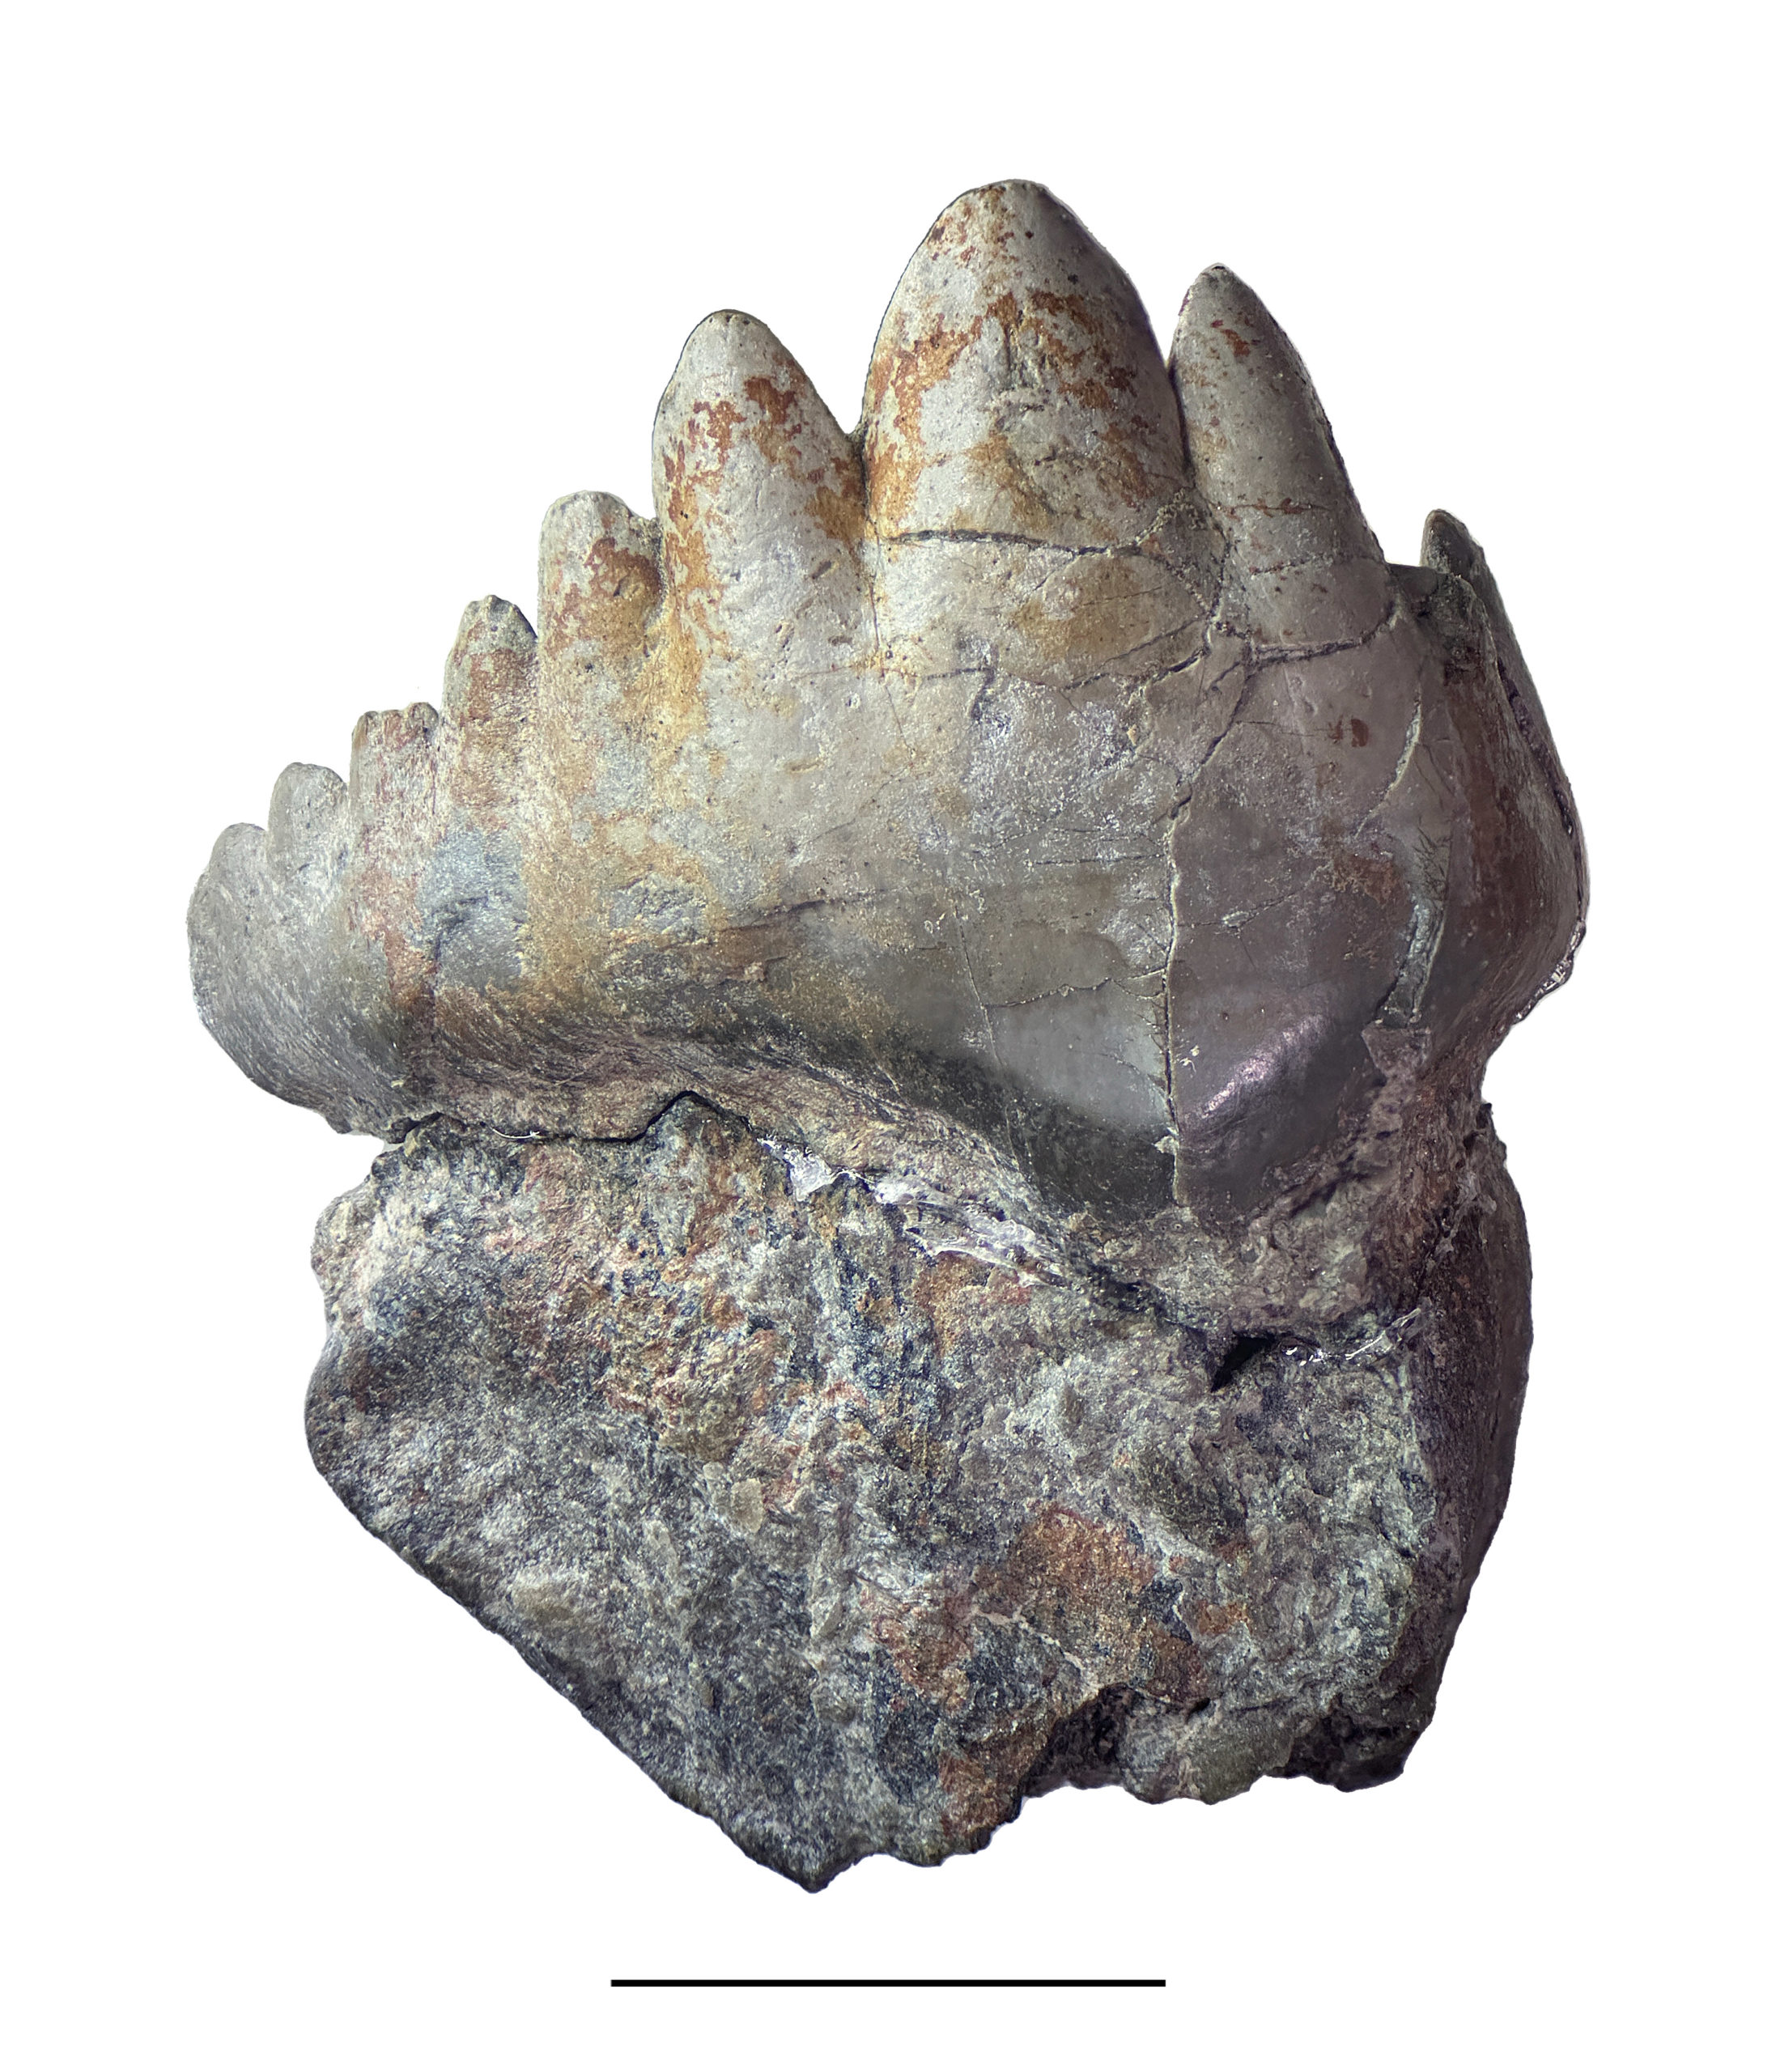
I use Paraloid B-72 to repair most fossils. Professional conservation workers make use of this thermoplastic resin. Paraloid B-72 is suspended in a jar of acetone and can be used as a glue or protective layer. I can also glue on using this method. Removal is supposed to be easy; an acetone bath will dilute the resin and clean the specimen. The resin is non-yellowing. A recent specimen of Peripristis semicircular was repaired using Paraloid, and the large Koninchioceratid was protected using a coating.
Step 3: Fossil Cataloging
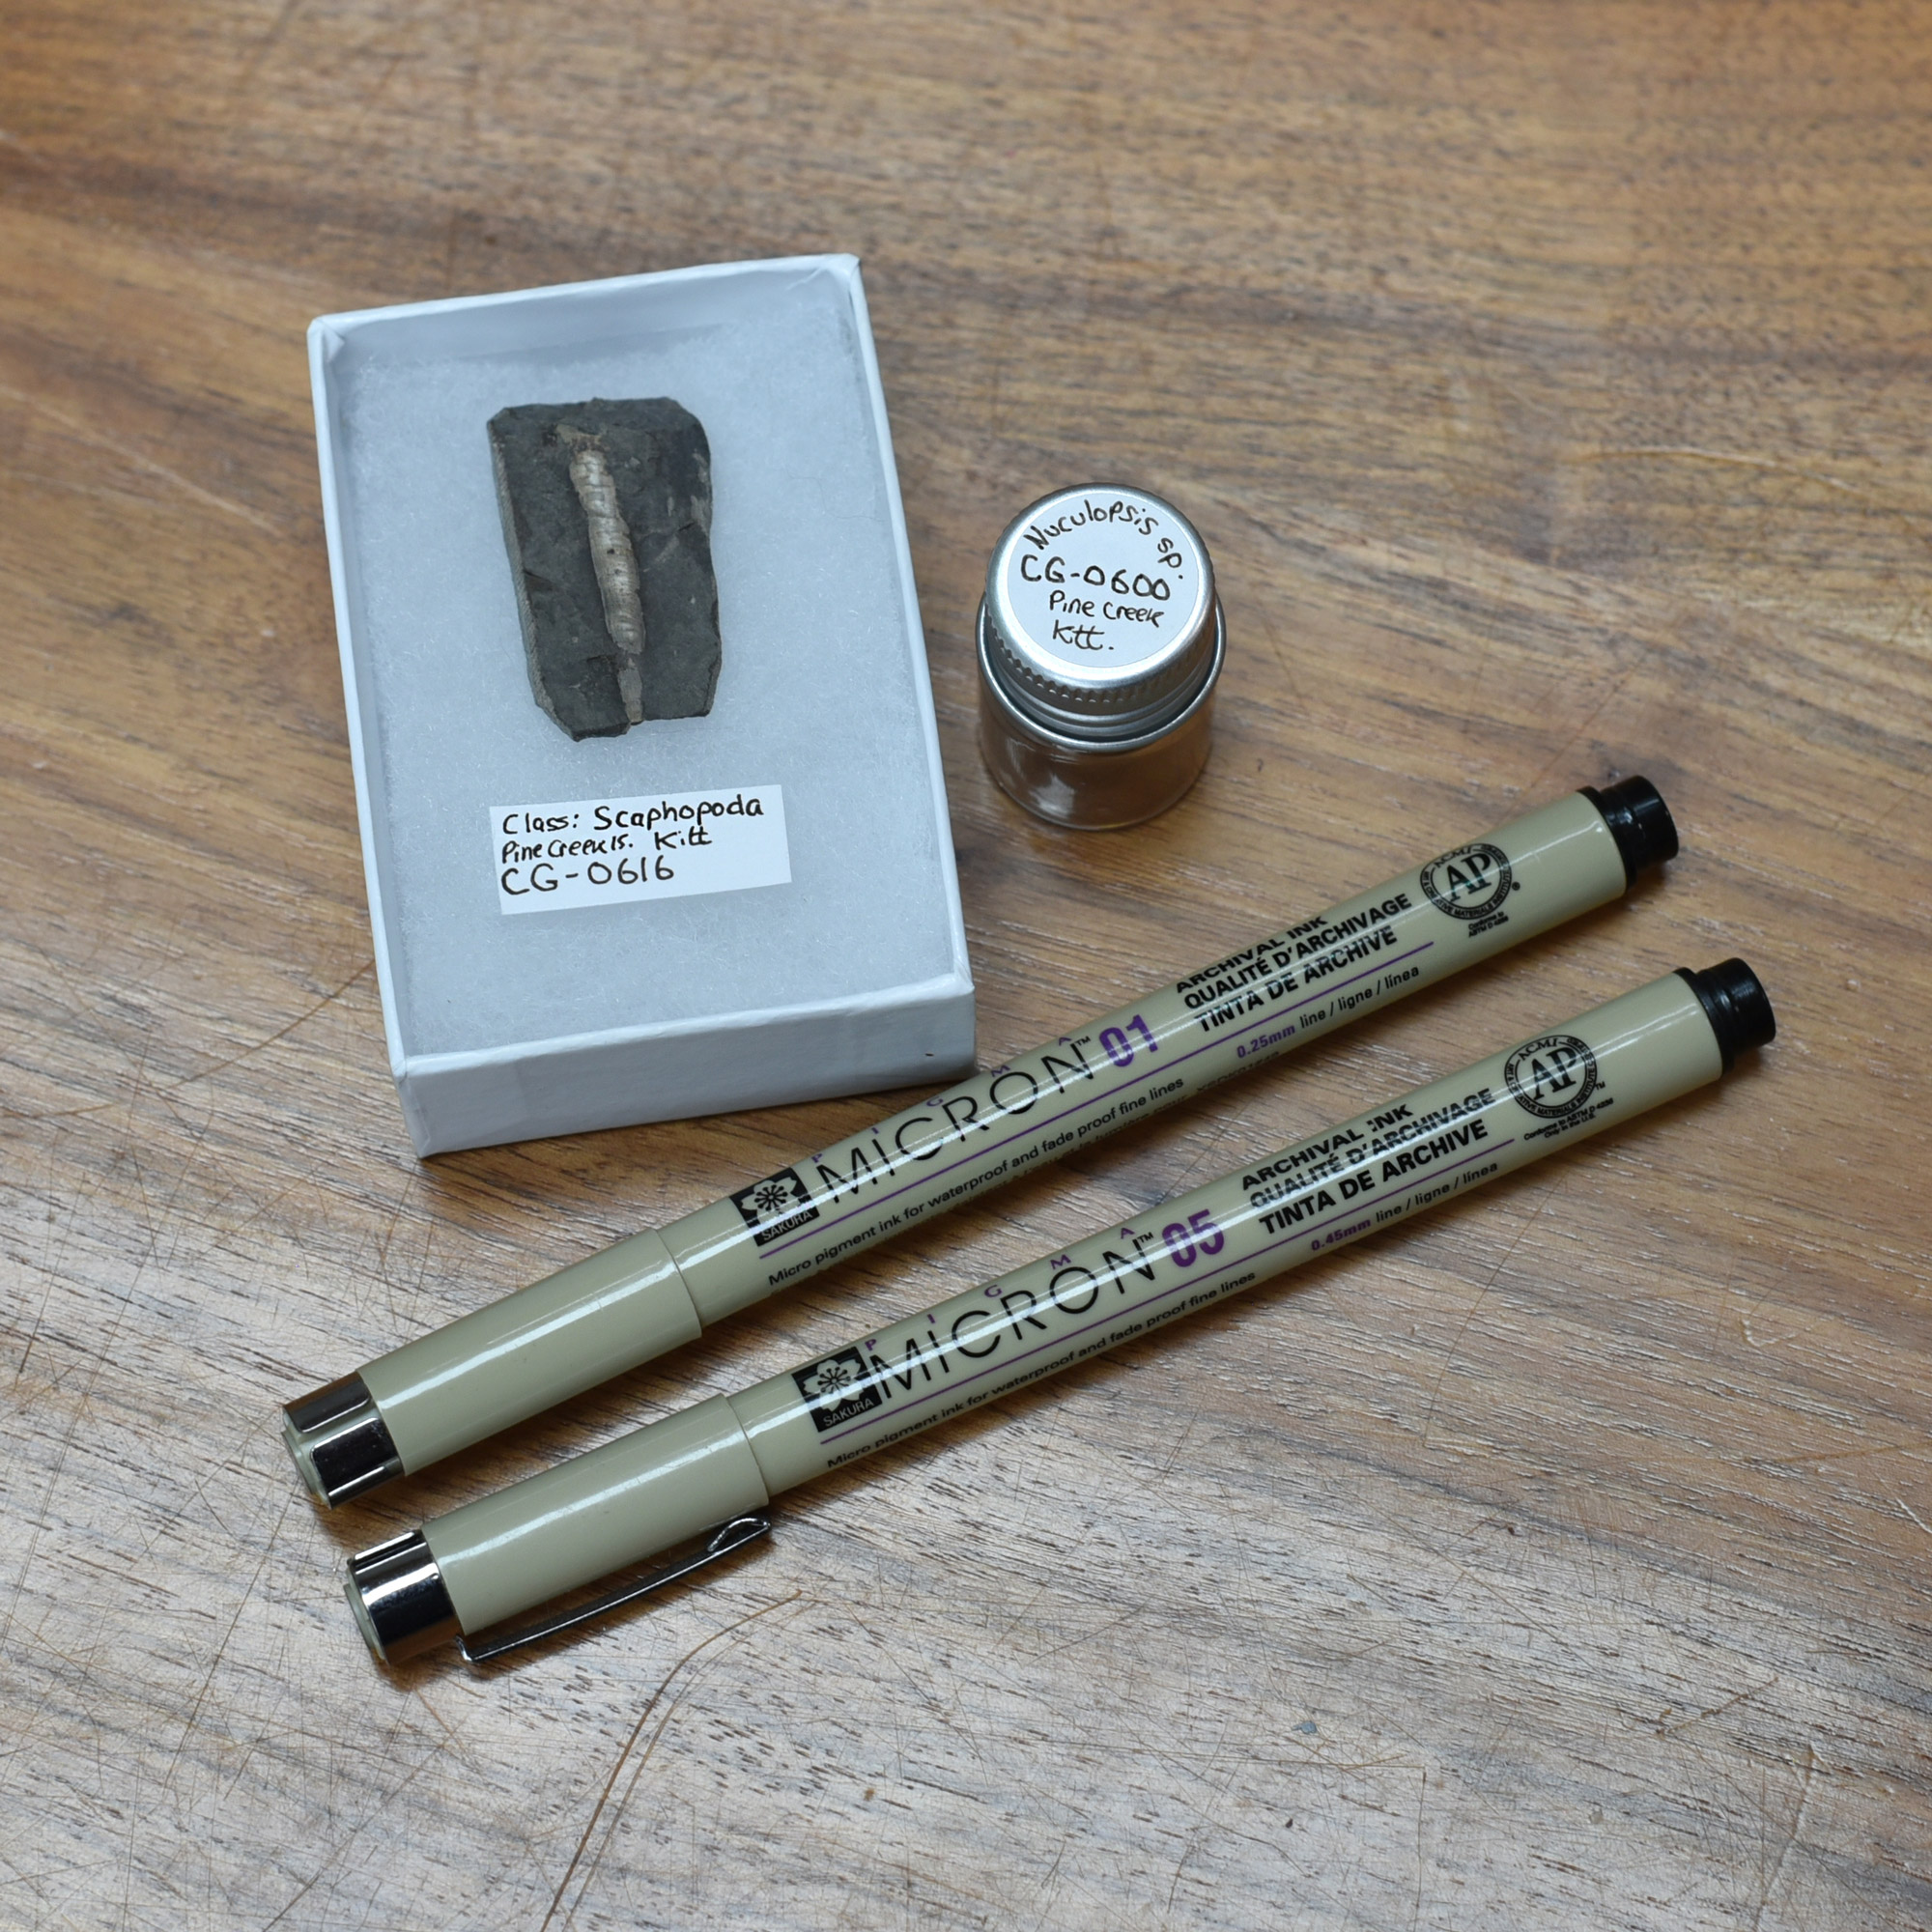
As specimens enter the catalog, storage materials become necessary. Small fossils need containers. I place the smallest fossils in glass jars with metal screw-on lids. These increase the size of easy-to-lose tiny fossils. I use a sticker label on the top for identification.
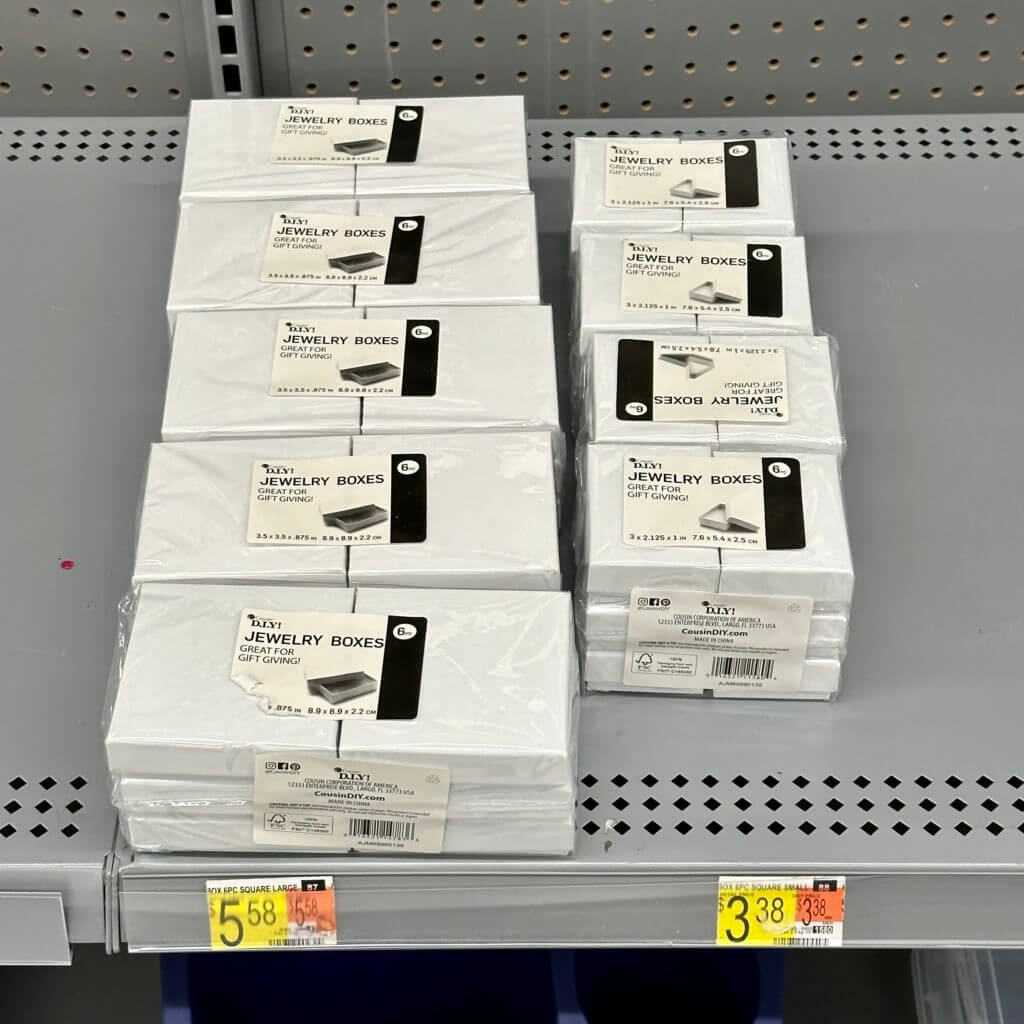
I place medium-sized specimens into cardboard trays. Walmart sells six packs of jewelry boxes with a lid, a bottom, and padding inside. I use the base and tops independently, and the padding is helpful for delicate fossils such as Petalodus teeth.
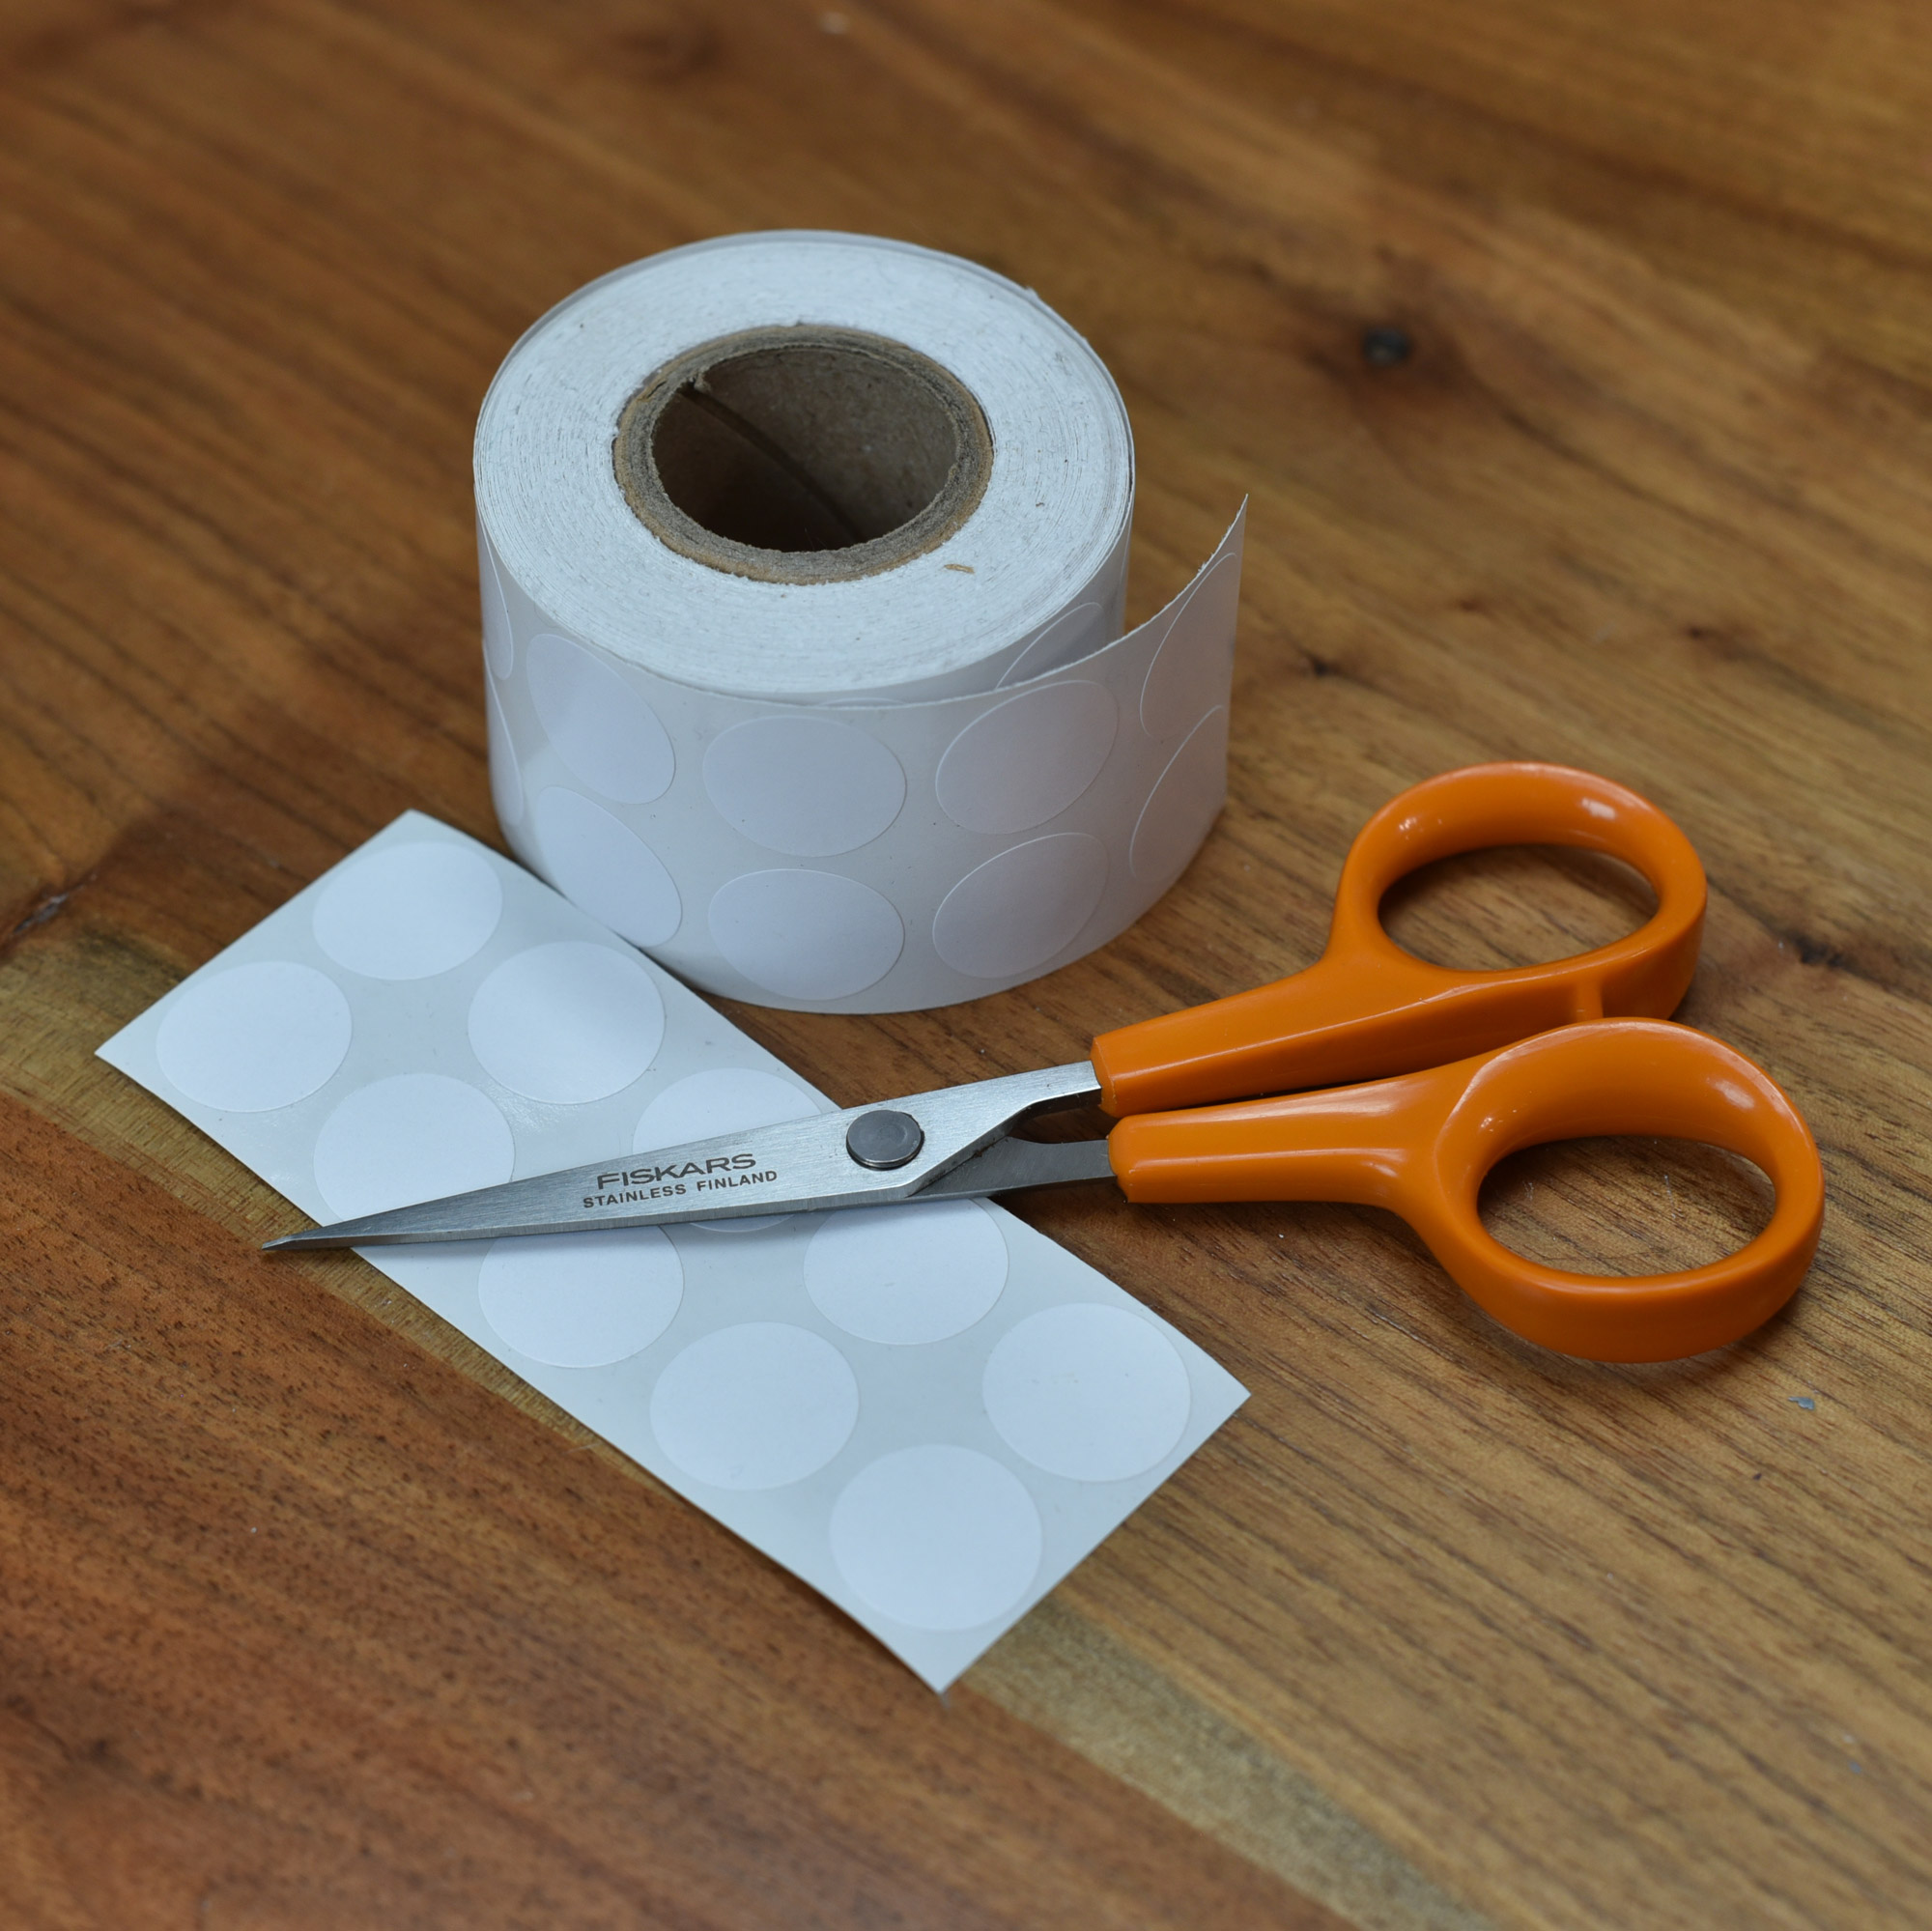
I label each with an identification number linked to a database. Major museums will often write identification numbers directly onto specimens. On-fossil labels help to protect against a loss but mutilate the fossil. I write the identification number and scientific name using an archival ink pen on a cardstock label.
All specimens in the catalog are photographed. This goal is time-consuming and part of a personal collections management process I implemented. Several specimens get photographed using an iPhone Pro 11, which provides more than enough capability. At least one high-resolution image is captured for each specimen and attached to the fossil’s digital record. All fossil records exist in a MYSQL database hosted on this website. Regular backups occur to prevent data loss.
I photograph fossil specimens using ammonium chloride vapor blown onto each specimen using a propane torch and ammonium chloride powder. Photos are shot using stacking software on the phone. Unfortunately, phones cannot yet stack the images on the phone, and the image files are downloaded and processed on a computer.
⁂ Learn about the entire photographic process here.
Materials to Buy
All of the products below are ones I’ve used personally in fossil collection management. All of the Amazon links are affiliate links—sales proceeds help pay the hosting fees for this website and fund research efforts.
| Product | Use | Amazon Link |
|---|---|---|
| Micron 01 Pen | Label writing 0.25 mm tip | Check the price on Amazon |
| Micron 05 Pen | Label writing 0.45 mm tip | Check the price on Amazon |
| Neenah Cardstock | Labels | Check the price on Amazon |
| Fiskars Stitcher Scissors (No. 5) | Cutting labels | Check the price on Amazon |
| 5/8″ Diameter Round Label Stickers | Jar labels | Check the price on Amazon |
| Maxmau storage jars 5 ml: | Tiny Specimen Jars | Check the price on Amazon |
| Maxmau storage jars 10 ml | Longer Tiny Specimen Jars | Check the price on Amazon |
| Ammonium Chloride | Smoking Fossils | Check the price on Amazon |
| Propane Torch | Heading Ammonium Chloride | Check the price on Amazon |
| Aquarium Tubing | Positive pressure | Check the price on Amazon |
| Aquarium Pump | Positive pressure | Check the price on Amazon |
| Drying Tube | Glassware for heating powder | Check the price on Amazon |
| Flat file | Large flat file cabinet | Check the price on Amazon |
| Detolf Glass Cabinet | Specimen Storage | Check on Ikea.com |
| Brightroom 12 x 12 Storage | Stackable Storage | Pickup on Target.com |
| Jewerey Boxes | Jewelry Boxes | Pickup on Walmart.com |
| Sterilite 12 QT Dishpan | Temporary Storage | Check the price on Amazon |
| Brightroom Large Trays (2) | Temporary Storage | Pickup on Target.com |
| Brightroom Medium Trays (3) | Temporary Storage | Pickup on Target.com |
| Scratch Brushes | Specimen Cleaning | Check the price on Amazon |
| 7X-45X Stereo Binocular Microscope | Micro inspection | Check the price on Amazon |
| CGBE Cordless Nail Drill | Matrix Removal | Check the price on Amazon |
| PANA 3/32″ Shank Size – Pear Shape Silver Carbide Bit | Matrix Removal | Check the price on Amazon |
Step 4: Specimen Storage
The substantial metal cabinets at the Carnegie Museum are expensive and purpose-made for holding fossils. Museums have designated space and budget for storage, but I need to build a different system at scale. I’ve created a storage system that allows for stackable storage of fossils.
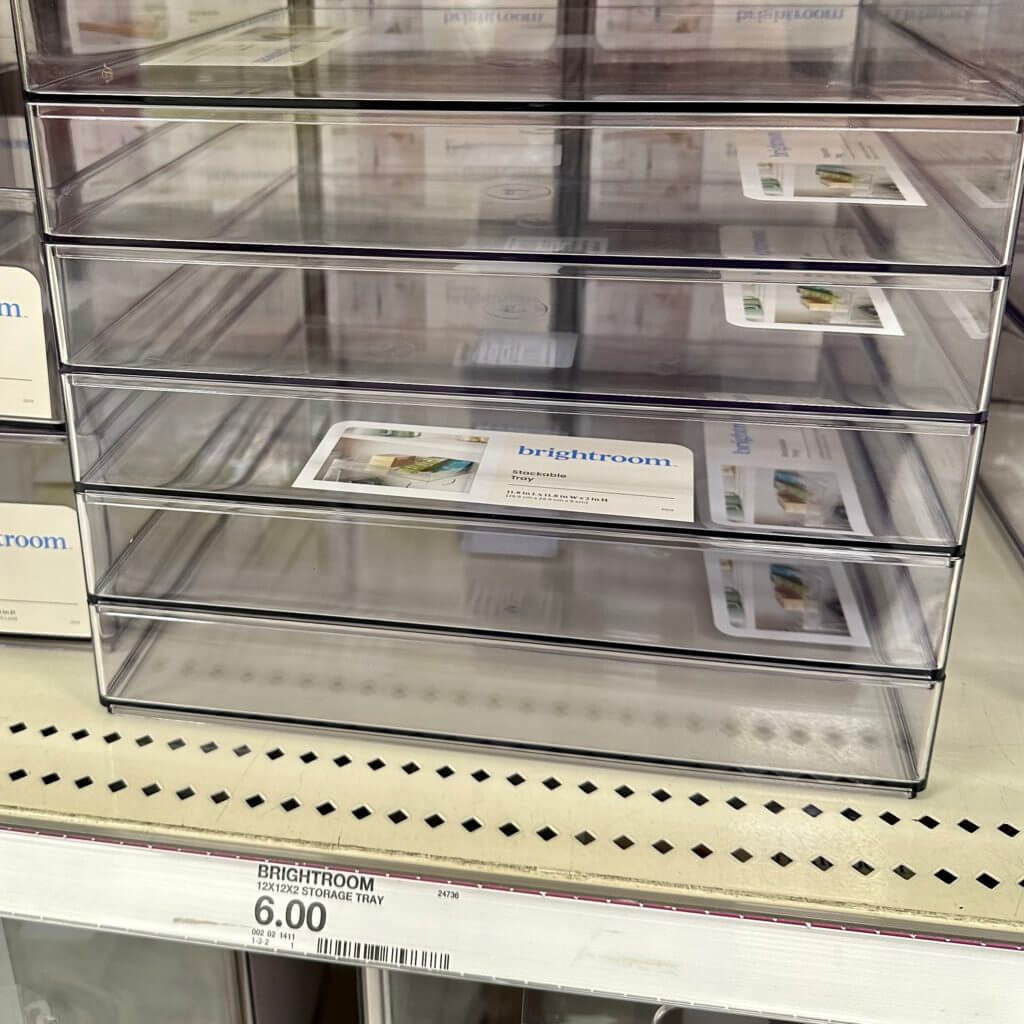
Brightroom 12 x 12 trays are excellent for holding fossil specimen trays. They are stackable and can attain great heights before being at risk of falling, and are also suitable for temporary storage during the accession process. They create an air seal as they stack, reducing or eliminating dust on the bottom trays.
Ikea makes a glass Detolf cabinet that holds 32 brightroom trays. The cabinet has four shelves that can fit eight trays a piece. The cabinet has a 14 1/2 x 14 1/2 profile, which gives enough room for the 12 x 12 trays. The Detolf is not air-tight and allows for dust to enter over time. I often stack eight trays on each shelf, keeping the last tray empty. The topmost shelf is often helpful for placing fossils in the accession queue.